Cracked grout around tiles can significantly impact the appearance of a room, making clean, sleek spaces appear worn and damaged. Beyond aesthetics, cracked grout can compromise the structural integrity of tile installations, potentially leading to more extensive damage if not promptly addressed. It’s like cracks in a sidewalk; while they may start small, without attention, they can grow larger over time, becoming trip hazards or causing bigger problems.
Fixing cracked grout without replacing the entire tile surface is a practical and cost-effective solution for homeowners. It preserves the existing layout, saving time and expense on a full renovation. By addressing only the grout, homeowners can maintain the durability and style of their tiles without the hassle of removing and replacing entire sections. This approach is particularly valuable in locations like Southern California, where warm, dry conditions can sometimes lead to grout deterioration.
Understanding The Causes Of Cracked Grout
Grout can develop cracks for several reasons. Understanding these causes will help you fix the current problem and prevent future issues. One common cause is foundation settling. As a home ages, its foundation might shift slightly, causing the tiles and grout above to crack as they adapt to the new alignment. It’s like when you wear a new pair of shoes that gradually stretches to fit the shape of your foot.
Temperature fluctuations can also lead to cracking. In areas where temperatures vary widely between day and night or from season to season, the materials in your tiles and grout can expand and contract significantly. As these materials expand and contract, the grout can become stressed and eventually crack. Another culprit might be improper installation. If grout is mixed or applied incorrectly, it may not adhere as well, leading to gaps and cracks over time.
By identifying which of these factors might be affecting your grout, you can take specific steps to address them. For instance, if settling is an issue, keeping an eye on your home’s foundation for any shifts or adjustments will be helpful. If temperature fluctuation is a concern, ensuring you maintain consistent indoor temperatures can help. And if improper installation is to blame, you’ll know to ensure correct methods are used during future applications.
Preparing The Area For Repair
Before you start repairing cracked grout, proper preparation is crucial. Begin by cleaning the area thoroughly. Dirt, dust, and residues can interfere with how well new grout adheres, so ensuring a clean surface is vital. Use a mild dish soap and a soft brush to gently scrub the area, removing any surface grime and allowing you to see the cracks more clearly.
Next, gather the necessary tools and materials for the repair. You’ll need a grout saw or a small utility knife to remove the damaged grout, a vacuum or brush to clean up debris, and the replacement grout in a color that matches your existing tiles. You might also need a sponge for easy cleanup and a float to press the grout into the cracks effectively.
Here’s a quick checklist to prepare for your grout repair:
– Clean the grout lines with mild soap and water.
– Dry the area thoroughly to avoid trapping moisture.
– Use a grout saw or utility knife to gently remove damaged grout.
– Gather tools like a float, sponge, and vacuum for debris removal.
– Select a matching grout for replacement.
Having everything prepped and ready will make the repair process smoother, reducing the likelihood of further complications. Proper preparation not only sets the stage for successful fixing but also ensures that your grout holds up well in the years to come.
Step-By-Step Guide to Repairing Cracked Grout
Now that you’re set up and ready, it’s time to tackle the grout repair. By following a few straightforward steps, you can breathe new life into your tired tile joints without having to replace the tiles themselves.
1. Remove the Damaged Grout: Use your grout saw or utility knife to carefully scrape away the cracked and loose grout around the affected area. Be gentle to avoid scratching the tiles or further damaging the remaining grout.
2. Clean the Area: After removing the old grout, clean the lines thoroughly to ensure that any remaining debris or dust is cleared. This helps the new grout adhere better, providing a stronger bond and smoother finish.
3. Mix the Replacement Grout: Follow the instructions on your chosen grout product. Mix it until you achieve a smooth, consistent paste. Be sure to select grout that matches the existing color so the repair blends seamlessly.
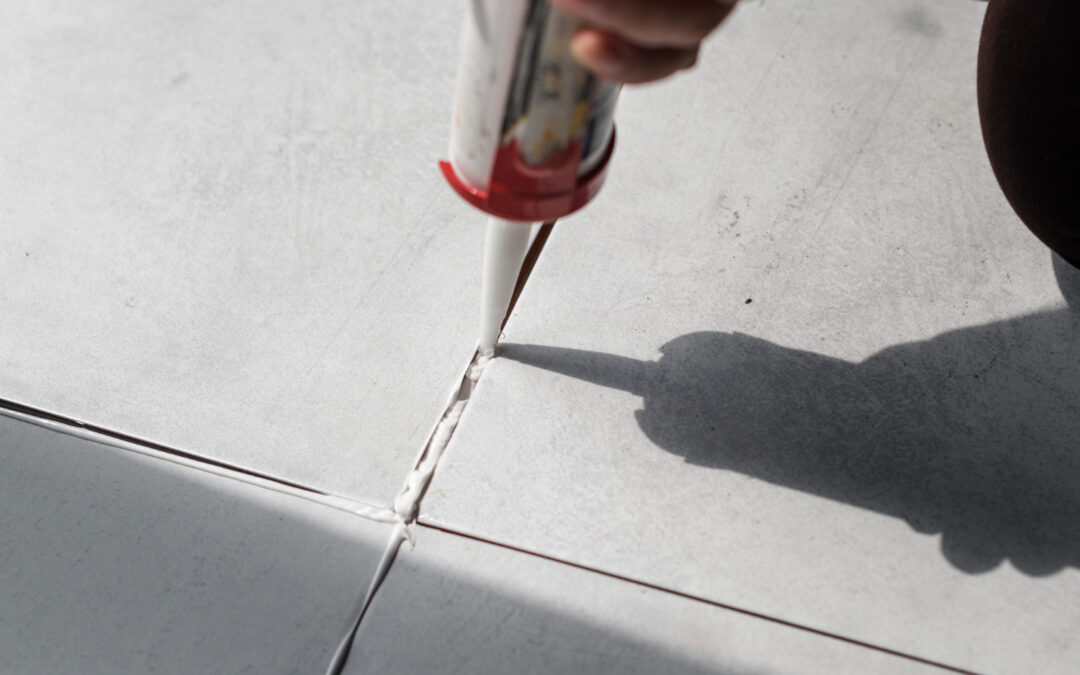
4. Apply the New Grout: With your float, push the grout into the cleaned joints, pressing firmly to fill all gaps. Ensure the grout is evenly distributed and fully packed, which helps prevent future cracks.
5. Smooth the Surface: Use a damp sponge to wipe away excess grout from the surface of the tiles. This step is essential to achieve a clean look and avoid hardened grout on your tiles. Be careful not to disturb the grout in the joints.
6. Let It Cure: Allow the grout to cure for the time specified on the product instructions. During this period, ensure that the area remains dry and avoid walking over it to allow it to set properly.
With a little patience and careful attention, these steps can transform the cracked grout back into sturdy, elegant lines.
Prevention Tips to Avoid Future Grout Cracks
Once your grout looks good as new, it’s smart to put some simple practices in place to help prevent future cracking. Regular maintenance can greatly extend the life of grout and keep your tiles looking fresh.
– Seal the Grout: Applying a sealant offers an extra layer of protection against moisture and dirt, keeping grout strong and resistant to cracks.
– Keep It Clean: Regular cleaning helps prevent dirt build-up that can weaken grout. A mix of mild soap and water works well for this task.
– Watch for Early Signs: If you notice small cracks or gaps starting to appear, address them promptly. Quick fixes can prevent these small issues from turning into bigger headaches.
– Monitor Humidity: In areas with fluctuating temperatures, it’s wise to keep an eye on humidity levels. Using dehumidifiers or maintaining a steady indoor climate can decrease the chances of grout damage due to expansion and contraction.
Consistency in your care routine will help maintain both the appearance and durability of your grout long-term.
Freshen Up Your Tiles with Professional Help
Maintaining your grout not only keeps your space looking sharp but also ensures the longevity of your tiles. Fixing those little cracks before they become big problems is always the way to go. Whether you’re dealing with common causes like foundation shifts or simple wear and tear, understanding how to fix and prevent cracked grout saves time and effort.
If the task seems overwhelming or you’d prefer expert hands to handle it, reaching out for professional help can make all the difference. Experienced professionals can offer specialized solutions tailored to your home, especially within the diverse climate of Southern California. Prioritizing the care of grout and tiles benefits homeowners by prolonging the life of their installations and maintaining a polished, finished look. This keeps your tiles not only visually appealing but also structurally sound, ensuring your home remains in top shape.
For those in Southern California looking to extend the life of their tiles, addressing grout issues early is key. Instead of handling the hassle alone, contact Parr’s Deep Cleaning Service for expert grout cleaning. Our team ensures your home stays in top shape, keeping your tiles both beautiful and durable. Learn more about our comprehensive grout cleaning offerings and let us help you maintain your home’s elegance. Contact our team today at 714-470-1955.